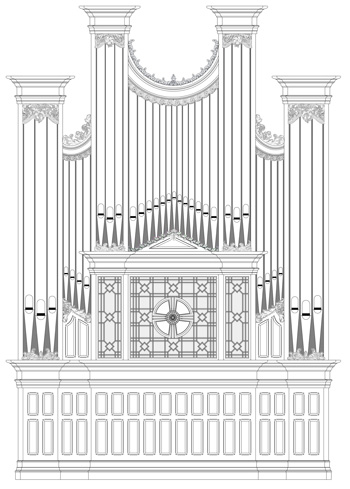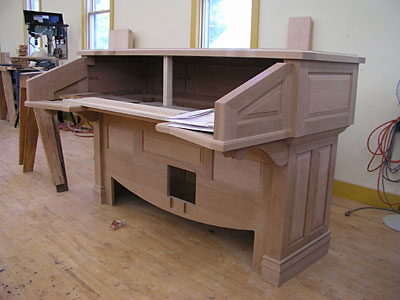
The console case is made of cherry.
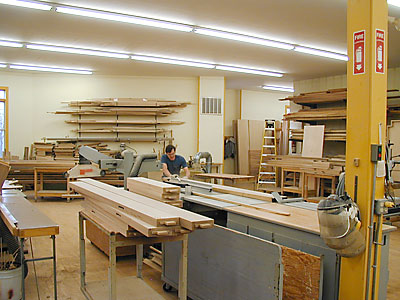
Randy straight-line rips white oak boards on the Altendorf table saw. They will be part of the organ’s case frames, some parts of which can be seen on a cart in the foreground.

Some further case frame members. The rectangular holes on the edges of some of the boards are called “mortises”, and the thinner sections at the ends of the boards are called “tenons”. A tenon fits into a mortise like a plug into a socket, making an extremely strong joint. These tenons have been rough cut, but are not yet machined to their final thickness, which is just slightly less than the inside width of the mortises.
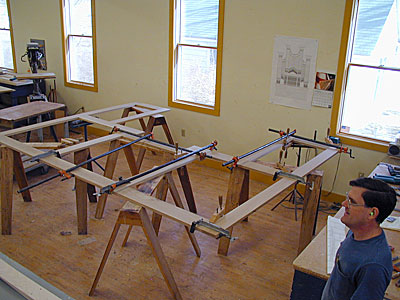
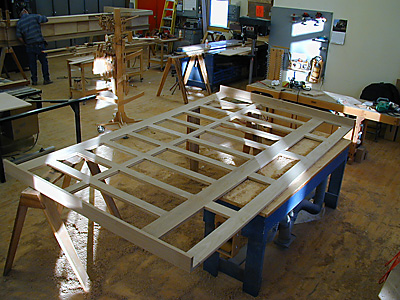
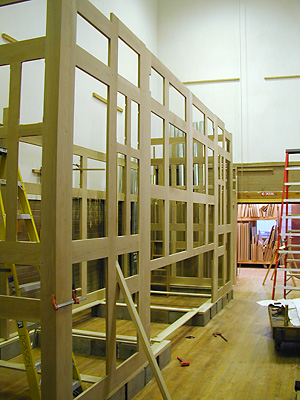
Randy stands next to one of the upper case frames. This particular section forms the back of the Swell division. All of the frames are made with traditional mortise & tenon joinery.
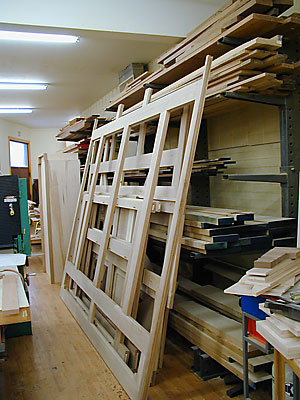
Some of the completed case frames. These are parts of the back of the organ case, which is made with the same care and craftsmanship as the visible front of the case.
This is the inside of the lower case front. A rabbet is being cut around each opening to receive the panels. Sunlight streams into the shop on a cold (6°F) winter morning.
Now flipped over, the outside of the lower case front is now facing up. Randy is fitting mouldings to its lower portion near the church floor.
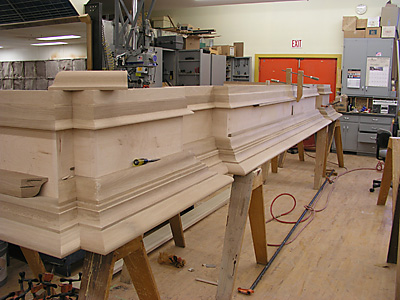
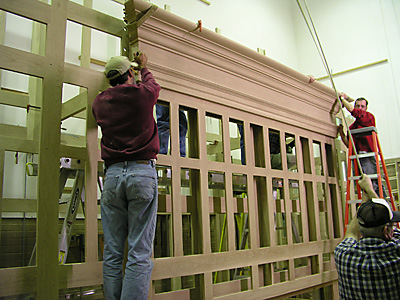
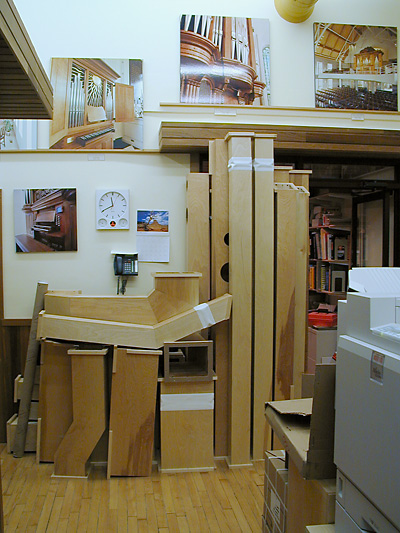
A variety of mouldings have been made. They’ll soon be mitered around the impost and tower tops.
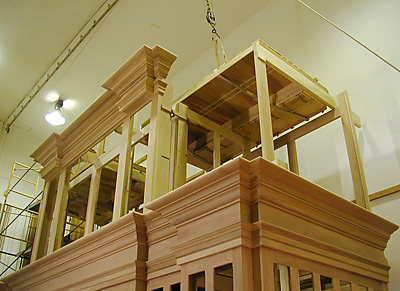
One of the tower tops as the mouldings are being applied. It’s sitting upside down on these sawhorses.
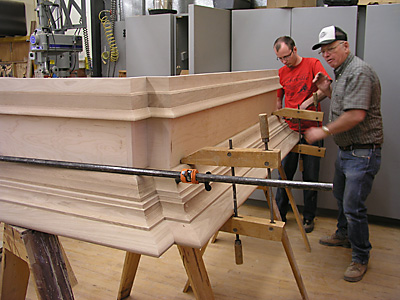
Donny and Lynn glue mouldings to the impost.
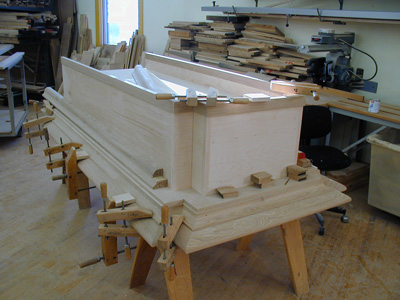
The impost is the “belt” that separates the lower case from the upper. The largest façade pipes stand at this level. For ease of construction, the impost is built upside down.
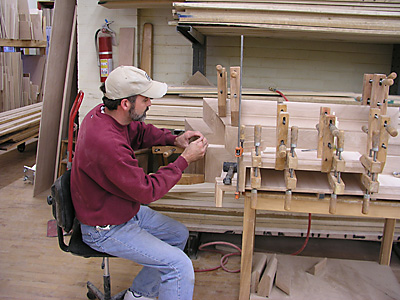
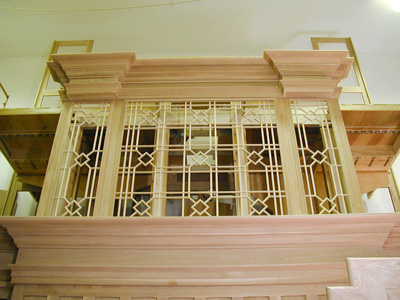
There is another level of mouldings in the upper center of the façade on which basses of the Great 8' Prestant stand. Kent is fitting a few of the many miters.
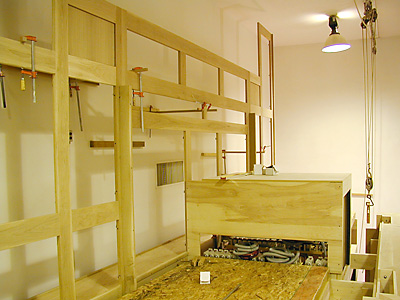
Assembly of the casework begins.
The central part of the impost moulding is set in place.
The Choir windchest has been installed.
The Great windchests are installed.
A view of the top side of Great windchests, with the “dog house” between them for the longest Choir pipes, which stand below. You can also see the Great stop action solenoids.
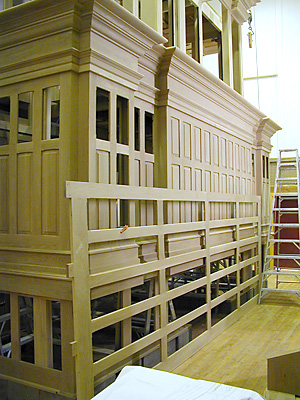
Many of the raised panels are installed in the lower case. Yet to be installed and lying on its side in front is one of the case sides, which will stand at the level of the mouldings in the top of this picture.
The grille in front of the Choir division is installed.
The right, or “CC” case side installed.
The left, or “C#” case side installed.
Some of the façade pipes are set in place. This is 16' D#.
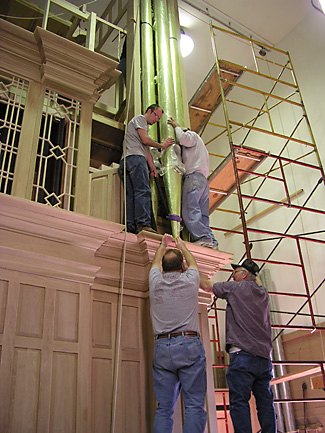
A curving “swoosh” that will fill the space between two towers.
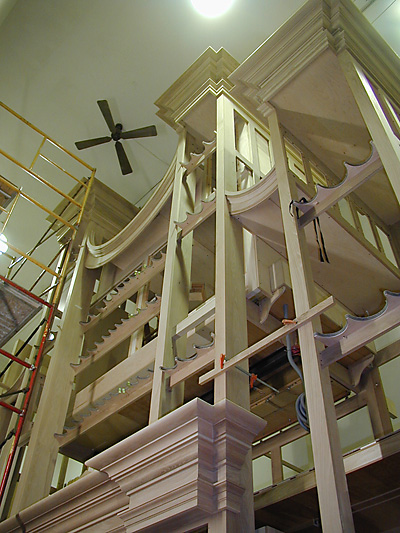
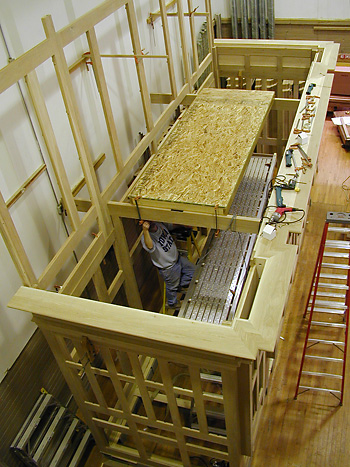
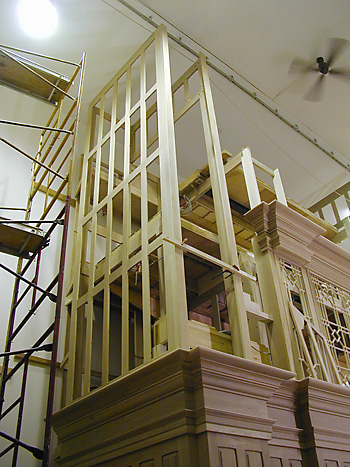
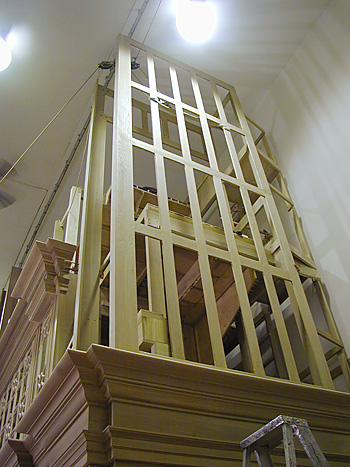
Because the organ case is too tall to stand complete in our erecting room, the lower portion was set up (as seen in photos above), dismantled, and then the upper part of the case was set up. Here you can see the upper façade mouldings, racks for the façade pipes, and the tower tops.
When the organ is dismantled, parts are everywhere. These windlines are standing outside foreman Dean Heim’s office.